Setup guide
Goal: Set it up once, then simply launch START.bat each time. You only need to configure the Prism menu within the game during the initial setup.
Download and extract the zip file
Save the zip file using the “Free download” link above. Right-click → Extract All. You should see the following inside the folder:
KURULUM.bat
You will also see START.bat, plugins-install, and program files. Do not run the files directly from inside the zip; extract them first.
Double-click KURULUM.bat
This wizard performs the following steps in order:
Locates the ETS2 plugins folder
Copies the PrismTextureStreamerFB files there
Opens the download page if Node.js is missing
Installs Electron (npm install — this may take a few minutes the first time)
Launches the CarPlay window (optional)
Tip: If Windows shows an “unknown publisher” warning, select “More info” → “Run anyway.”
Keep the CarPlay window open
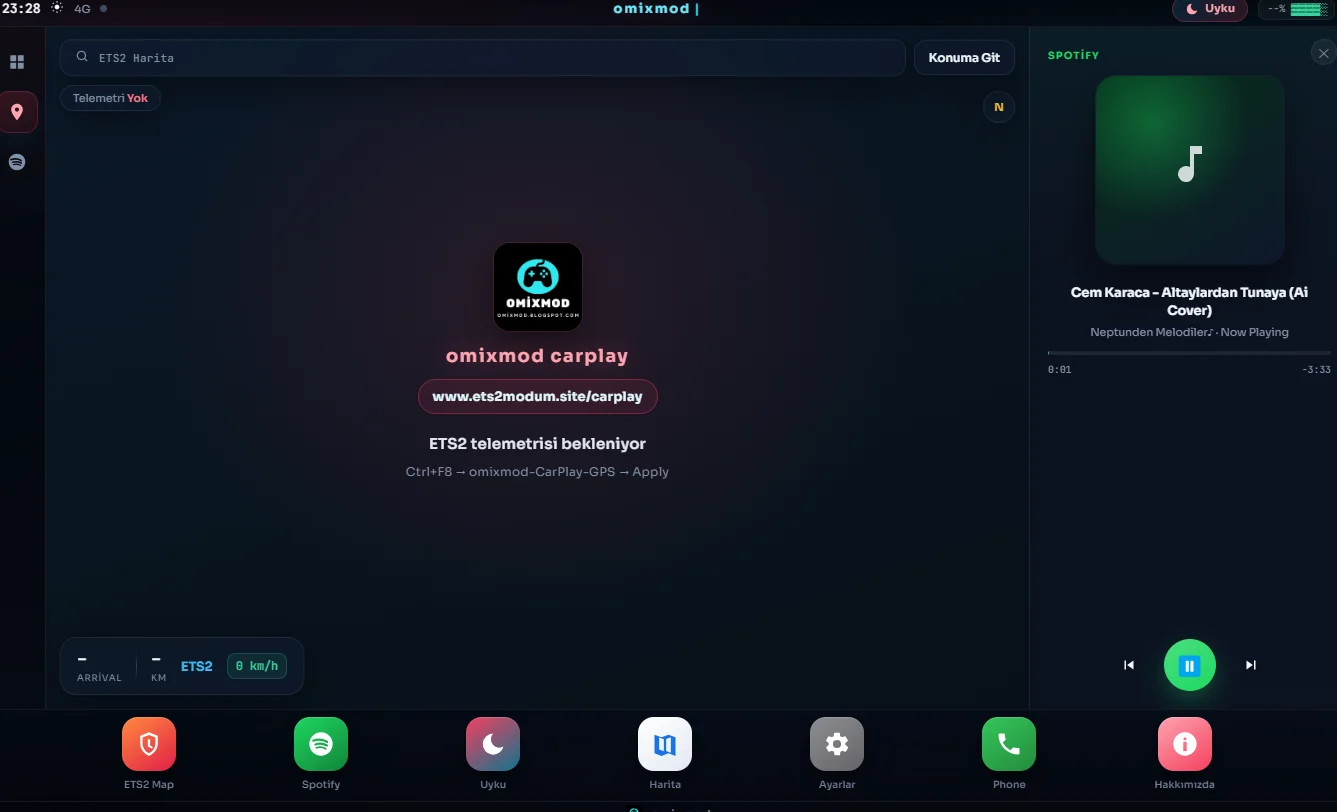
The title bar should read “omixmod-CarPlay-GPS.” This window displays the image sent to the GPS.
Important: Do not minimize the window. Minimizing it stops the rendering, causing the GPS display to freeze on the last frame. You can keep it resized to a small area on the screen, but do not minimize it to the taskbar.
Connect Prism in ETS2 once
Launch the game and enter the truck cabin (so the dashboard is visible). Then:
Open the Prism menu using Ctrl + F8
Add Screen → Type: GPS
Source window: omixmod-CarPlay-GPS (electron)
Apply
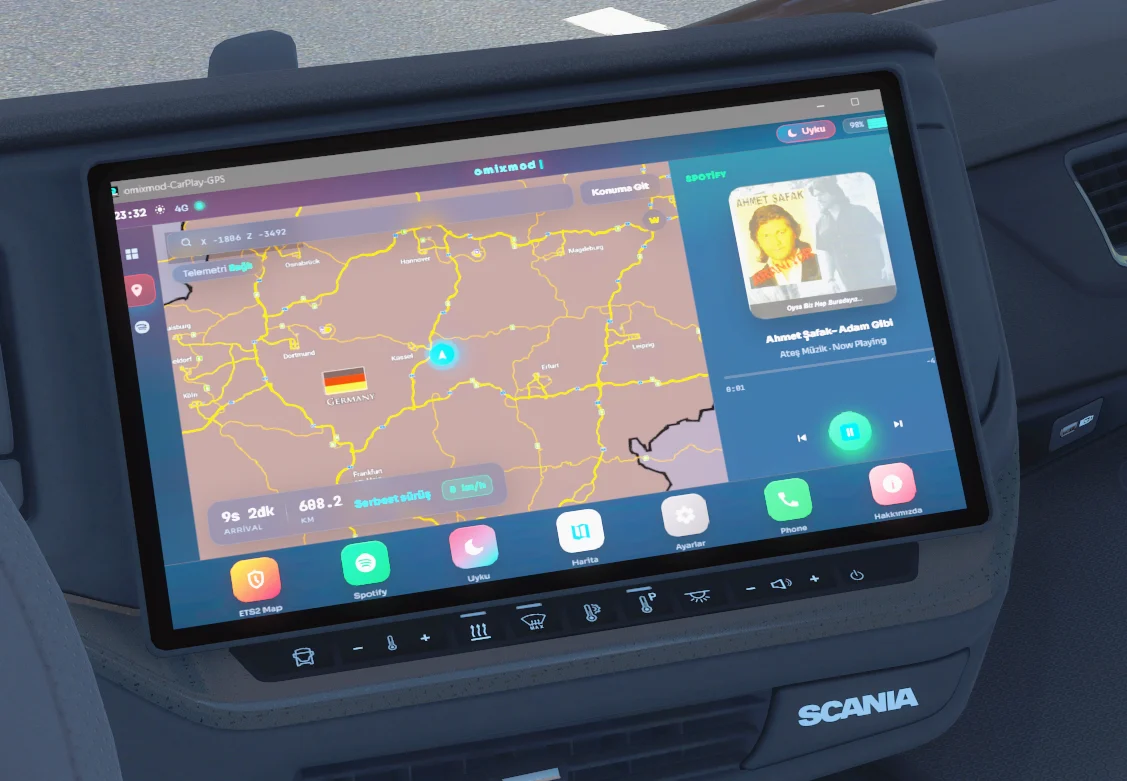
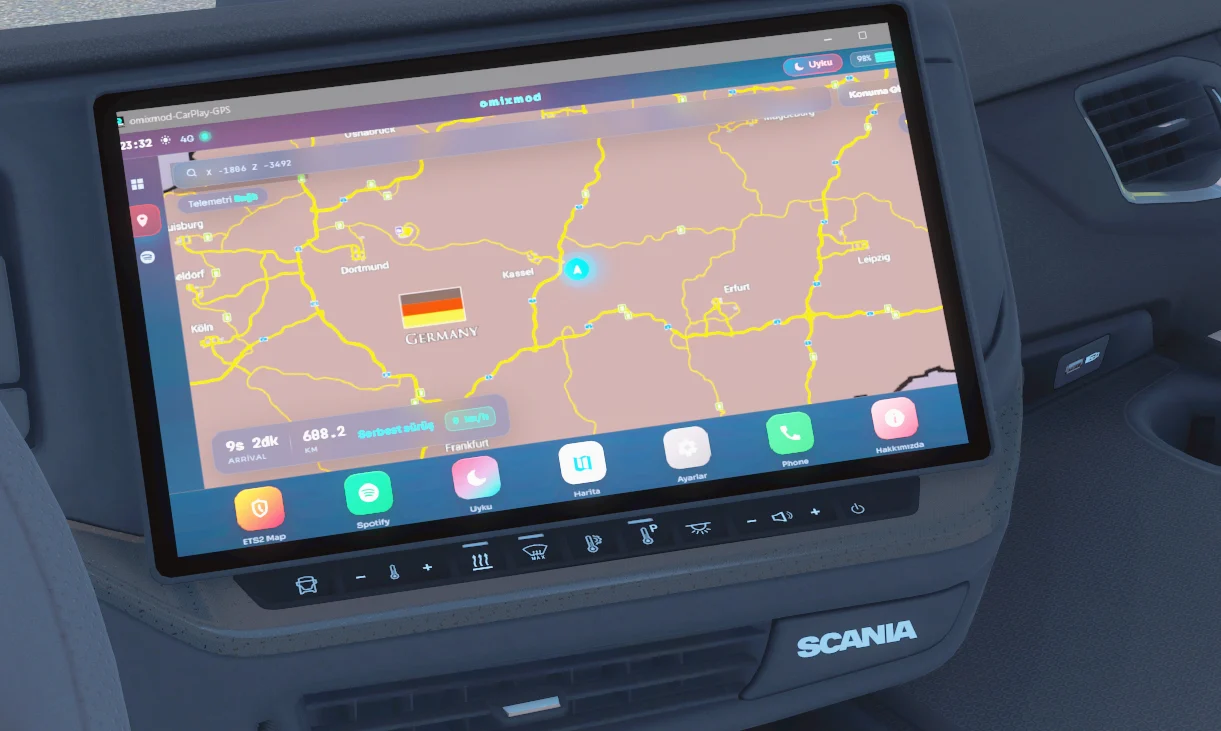
Look at the GPS screen in the center of the truck, not the floating box. If the image appears upside down, enable “Flip Vertical” in the Prism settings.
Subsequent drives
You only need to perform the setup once. Next time:
Launch CarPlay using START.bat (do not minimize)
Launch ETS2 — the Prism setting remains saved
Song info appears if Spotify is open
For settings, theme color, sleep media, and “About,” use the Settings / About option in the dock.
Kurulum rehberi
Amaç: bir kez kur, sonra her seferinde sadece START.bat aç. Oyunda Prism menüsünü de yalnızca ilk seferde ayarlarsın.
Zip’i indir ve klasöre çıkar
Yukarıdaki Ücretsiz indir ile zip’i kaydet. Sağ tık → Tümünü ayıkla / Extract. Klasörün içinde şunu görmelisin:
KURULUM.bat
Ayrıca START.bat, plugins-install ve program dosyaları olur. Zip’in içinde çalıştırma; önce çıkar.
KURULUM.bat’a çift tıkla
Bu sihirbaz sırayla şunları yapar:
ETS2’nin plugins klasörünü bulur
PrismTextureStreamerFB dosyalarını oraya kopyalar
Node.js yoksa indirme sayfasını açar
Electron’u kurar (npm install — ilk sefer birkaç dakika sürebilir)
İstersen CarPlay penceresini başlatır
İpucuWindows “bilinmeyen yayıncı” uyarısı verirse Diğer seçenekler → Yine de çalıştır.
CarPlay penceresini açık bırak
Başlık çubuğunda omixmod-CarPlay-GPS yazmalı. Bu pencere GPS’e basılan görüntüdür.
ÖnemliPencereyi küçültme (minimize). Küçülünce çizim durur, GPS’te son kare donar. İstersen kenara küçültülmüş boyutta tut; sadece görev çubuğuna indirme.
ETS2’de Prism’i bir kez bağla
Oyunu aç, kabine gir (gösterge panelini gör). Sonra:
Ctrl + F8 ile Prism menüsünü aç
Add Screen → tip: GPS
Kaynak pencere: omixmod-CarPlay-GPS (electron)
Apply / Uygula
Artık yüzen kutu değil; tırın ortasındaki GPS ekranına bak. Ters görünürse Prism ayarında dikey çevirmeyi (Flip Vertical) aç.
Sonraki sürüşler
Kurulum bir kez yeter. Sonraki sefer:
START.bat ile CarPlay’i aç (küçültme)
ETS2’yi aç — Prism ayarı kayıtlı kalır
Spotify açıksa şarkı bilgisi gelir
AyarlarTema rengi, uyku medyası ve Hakkımızda için dock’taki Ayarlar / Hakkımızda.
Credits:
OMİXMOD

when i try to put it on my gps i see a pink screen instead of the app does anyone know how to solve it
It’s great to watch YouTube videos while playing the game; there are no FPS issues—watching videos while driving.
Hahah süper bişe bu yaaa tırın içinde video izlemek
Güzel mod YouTube vide oynatma Spotify desteği muhteşem oyun oynarken video izliyorım
Very good modd